Installation
1. In your Admin panel, go to Appearance > Themes and click the Add New button.
2. Click Upload and Choose File, then select the theme’s .zip file. Click Install Now.
3. Click Activate to use your new theme right away.
or
1. Unzip .zip file and FTP it to your hosting server under wp-content/themes of your WordPress installation directory.
Theme`s Requirements
1. Default Pages (slugs: ‘niteo-contact’, ‘niteo-about’, ‘niteo-blog’, ‘niteo-instagram’, ‘niteo-tumblr’, ‘niteo-portfolio’, ‘niteo-slider’, ‘blog’, ‘niteo-custom’, ‘niteo-custom2’, ‘niteo-custom3’,) is created after ArtistICO Theme activation. Please do not delete them or change their slug as they are required to run the Theme correctly.
2. Contact Form 7 is required to display Contact Form correctly.
Theme Basic Setup
1. In your Admin panel, go to Appearance enter the Customize section.
2. In Customizer go to Site Builder & Options and Enable all the Sections (About, Portfolio, Blog, Contact, Instagram, Tumblr and Custom sections) you want to display on Main Page.
TIP – you can also change the order of the sections by “Drag and Drop” action.
2. To correctly Setup Contact Form, make sure you have installed Contact Form 7 Plugin from WordPress Repository and then create new Contact Form in WP Admin > Contact > Add New. You can leave the default code and Copy&Paste the Title of Contact form to WP Admin > Customizer > Contact Section > Contact Form 7 Title.
To create same Contact Form as on your Demo Page, simply insert following Contact Form Code inside your Contact Form:
[text* your-name placeholder “Name”] [email* your-email placeholder “Email”] [textarea your-message 100×1 placeholder “Message”] [submit class:button “Send”]
3. If you want to use our prepared Shortcodes for Text formatting and Columns install Simplefolio Shortcodes Plugin in WP Admin > Appereance > Install Plugins.
4. All Customization is done in WP Admin > Appereance > Customize.
Portfolio Setup
1. Create New Portfolio WP Admin > Portfolios > Add New Portfolio.
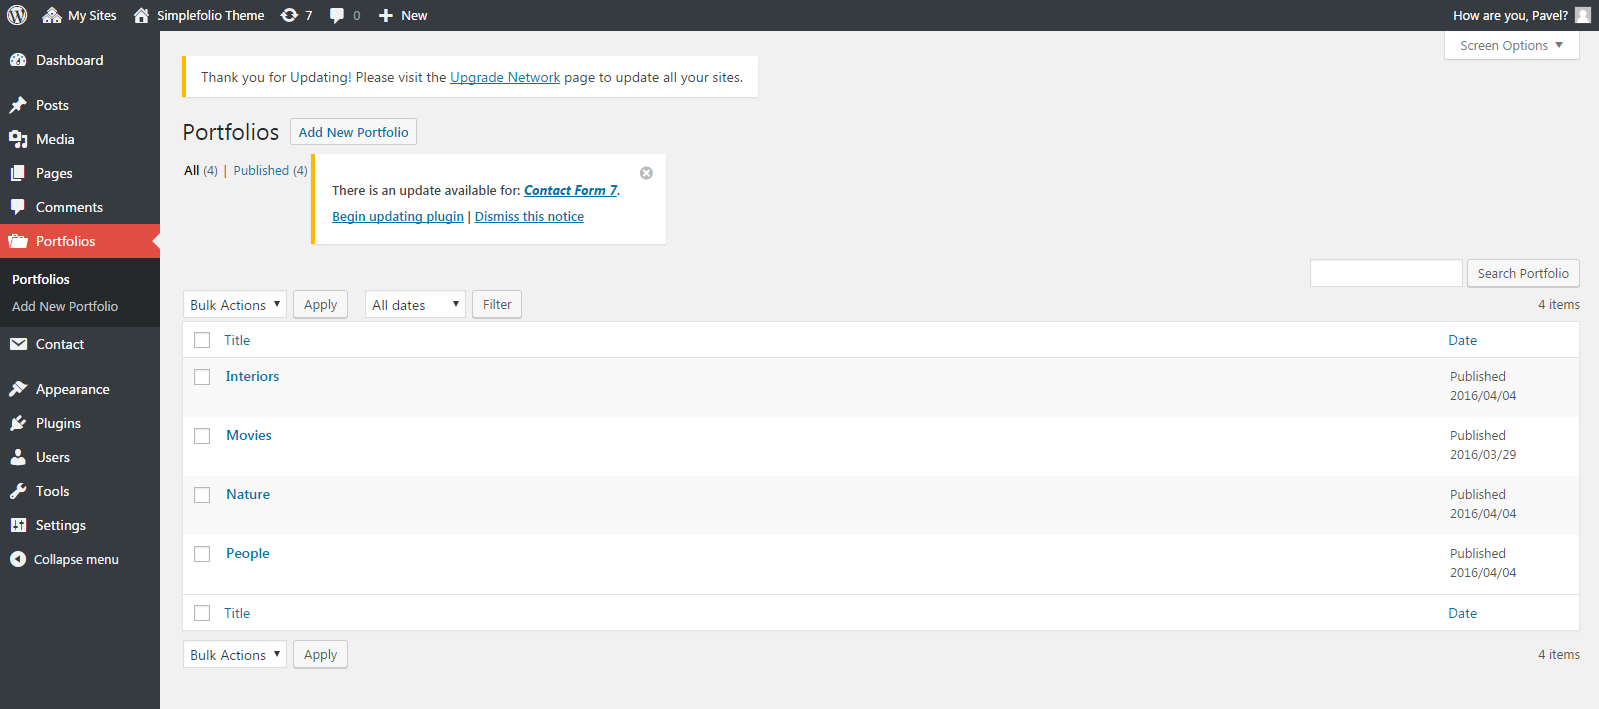
Portfolio name is name of Filter on Main Page (Category).
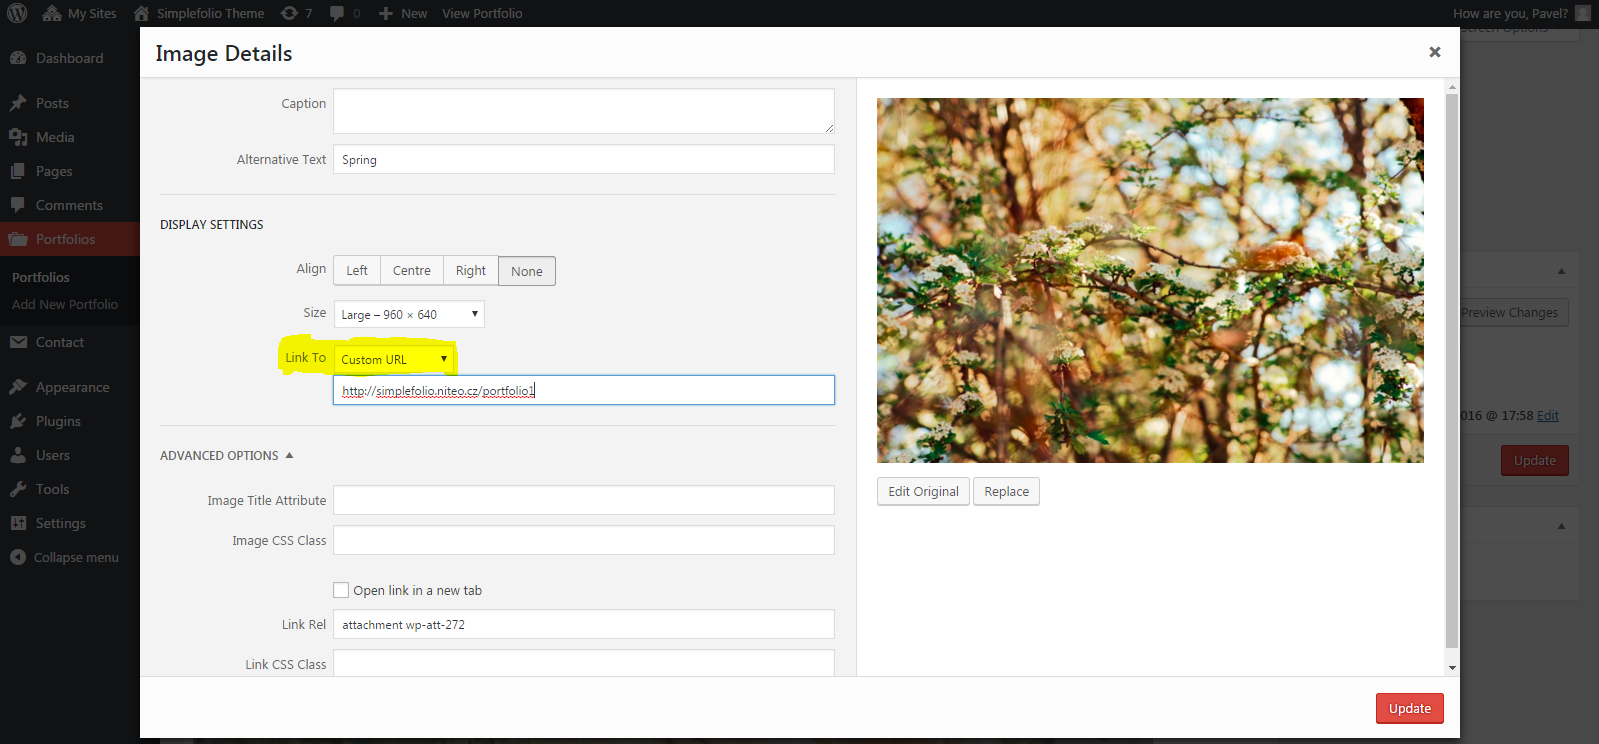
3. Insert Images, Image Gallery, Vimeo or Youtube Link into your new Portfolio and Publish the Portfolio.
When Inserting Image, you can choose whether to link to Media (Lightbox) or custom Link (can be for example separate Page)
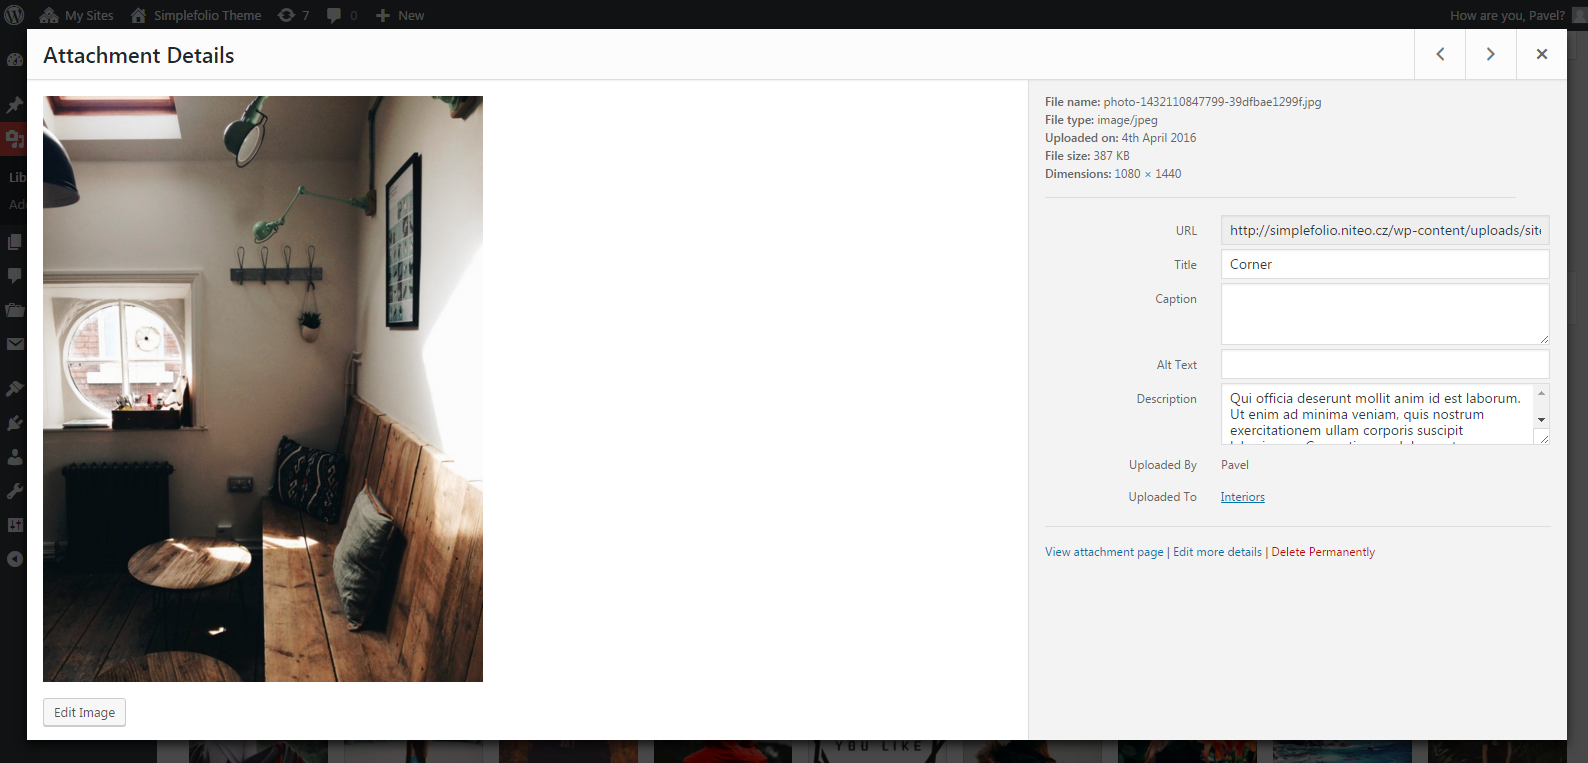
4. You can edit iIage Title and Description in Media to display custom Description when in Lightbox Gallery.
Google Analytics
1. To insert Code for Google Analytics we recommend install plugin Insert Headers and Footers and insert your custom GA code into Header. By this, you don`t loose any data when changing to different Theme.
Translation
1. Theme can be translated to any language. Translation file is in Theme/language folder, you can just simply edit the PO file. More info about translation is here.
That`s all. Thanks for looking, your Niteo.